This was probably the most challenging sewing project I ever done! I never was into wedding dresses but sewing one seemed like a final test - if you can do that you can do anything. When I got married I was a true beginner - I had my machine for less then a year and I was just learning how to sew a straight stitch! I fantasized for a short moment about making my wedding dress but the truth was I was not yet capable of making a simple sundress so ... Since wedding dresses were never my thing and if the parents haven't felt so strong about it I would have liked to wear a non white dress at my wedding and the pricing seemed ridiculous to me for a one time dress I decided to rent my dress! I found a renting place for high end dresses online and made an appointment. I told the lady there about a few details I had in mind ( though that might have been reduced to "anything but a princess dress" ) and she got me a few dresses to try on. I was sold on the first one. I tried 3 or 4 after so it will not look like a rushed decision but my choice was clear to me. The lady there was really confused about me making my decision that fast specially since I might have told her I didn't try any other wedding dress before. It wasn't exactly cheap as renting that dress was as much as buying a not so fancy one. But to this day I stand by my choice. I remember being really impressed at the time with the fabric, the finishing, the structure and everything else... That is still the most complicated dress I ever seen and touched.
For my sister in law the story was so much different then mine. She wanted a princess dress and a brand new one. She had multiple appointments to try on dresses and went to many bridal fairs. She initially ordered a dress but later decided it was not good enough and canceled on it. She was close to two month to the wedding and still nothing clinked for her. This are some of the dresses she tried:
We jocked a few times that I would make her dress if she chooses a basic look and a fabric I can tame... but who thought I will actually make a wedding dress... So I was quite surprised to get a series of fabric pictures and info on a fabric store that was specializing in special occasion fabrics with 50% sale... I never heard of the store even if it was quite close to me. Probably because I don't sew so much for special occasion and they don't have a big online presence.
So she dropped by later that day to pick me up and we went visiting the store.
They had an entire floor just with bridal fabrics and prices way above what I was used to... but they had a 50% discount at the time and that made them look more reasonable. And we got home with 4 meters (140cm wide) of lace more difficult to work with then what I knew I can easily handle, 10 meters of matching soft tulle and 4 meters of lining a bit more yellowish then the lace as we wanted the final dress to not be too white but more ivory....
Next week we went for more shopping for trims and other supplies. We first thought of using a trim at the neckline and sleeve edges and use the City Hall dress as a starting point since we got such a nice fit on that pattern. After out first work session we had a bunch of muslins with various necklines:

There were some good choices and some clear NOs and I was starting to feel good about our progress! And then a few days later I was told that everything we did was a no go... we need to start fresh. That scallop trim we took hours to pick is a NO as well... and I started to feel despair! The fabric was tricky a fresh new pattern... and who knows how many other things that can go wrong! I was not afraid of hard work but doing something that requires sacrifices on my side for no end result was no fun! But we started fresh. I could not work with internet pictures I needed a pattern to think so I gave her a link to the sites where I got my patterns and she made a list with what she found interesting for this project. Then we took each pattern and analized - what we liked, what we don't, other reviews of it and we cut most of them out! We talked and we talked... and in the end we picked just one she really liked and I thought I can make it work in our fabric. It was a Vogue pattern and that was comforting to me as they are better drafted then others and had less bad experience with them. So we picked Vogue 1542 for the bodice:


And
Lekala 5212 for the skirt:
As I didn't initially took a train into account when we got fabric we had to go buy more fabric twice: first we went for 3 more meters and we got 3.5 for the price of 3 and then we went for one more for Eva and got 1.5 because there were small defects in the fabric. When we were done shopping for it there was only 1 meter left on their bolt.
Luckily we didn't had any other pattern reset from here - just lots of other resets to improve our dress. For our next session we made a 1st muslin of the Vogue bodice in size 8 that based on the finished measurements stated should have fit OK but that was not the case. It was huge and all wrong:
I tried to redo the princess seams and I made a fresh muslin in 2 layers on fabric: lace and satin to get a better feel of how this pattern will look in our fabrics and what challenges might be sewing it. This second version was significantly better but still not a perfect fit:
At this point I changed my alterations plan. I just took out my already altered and perfect McCall's 7536 that I made for the
City Hall dress and I just transferred the Vogue neckline to the McCall's pattern and made a 3rd muslin with the new pattern pieces:
We were finally happy with the fit now and had the final pieces for the bodice. i was time to test the skirt pattern as well. I was shocked on the amount of fabric needed for that skirt. Even if I was set of making it from multiple fabrics there was still no fabric I was willing to sacrifice big enough for it. So we decided to trace the skirt in the tulle we got with the lace and later one actually use the skirt on one of the under layers.
By now it was already March and we had about one and a half months to the wedding. We were finally ready to cut into our fashion fabric. it was tricky to work we the fabric but we managed to get to the 1st actual try out:
It was not bad. At a closer look I realized I didn't do a very good job with the pins on the bodice so I redone that:
The fit was good and I could not see any major issues at the time. We fooled around a bit pinning some cut out segments from a second lace fabric we got for making some appliques similar to some dresses she tried out.
We got carried away and pinned everything we had on it ... That was not what we had in mind but the truth was that just a few flowers or all of it it was not looking that good. It looked cheap and unimpressive even if the lace fabrics were quite expensive.... so at this point we dropped the flower applique idea and find a more discreet and sophisticated way to make it shine and stand out!
The things were just started to look good and I was even considering an option to enter the dress into the red carpet contest but the next session brought a big step back. We realized that picking a yellowish lining was a big mistake. The skirt was a lot more full then the fitted bodice and had some extra tulle layer between the lace and the lining and was looking significantly more white then the bodice.
It was unacceptable so we trashed the full bodice and we went shopping for a new lining. You would think that finding a simple white fabric would be easy. But it was a real pain. Finding the right shade, feel, drape, weight took hours of touching and screening fabrics but we eventually found one we fell in love with and felt perfect for our dress. And we started from ( almost ) scratch - we kept only the big lace skirt and the tulle underskirt.
In the middle of this low point we also realized that the direction of the embroidery on the tulle with the skirt looked really wrinkled and ironing it didn't seemed to do anything because most of the fabric deformation was determined by self weight pulling. It was medding. But I found a solution for it! We tried a few ironing products and we found one that was significantly stiffened our lace and made it easier to iron and have a crisp proper look.This is what we used at the end:
This time around I knew there will be no flowers applique on the bodice so I could not use those to hide any imperfection in the seams so I took a long time considering various techniques to sew the princess seams in the front and If I should so 2 layers at once or one at a time. I also did a lot of small samples on scraps with actual fabrics. I found this video on youtube about sewing with lace and I fell in love with it! I wanted my seams to be that neat :
link to youtube video.
This is the new design we had in mind at the time:
I considered using embroidery for the center front piece but my 5x7 hoop was not big enought to cover more of the piece so I let that idea go:
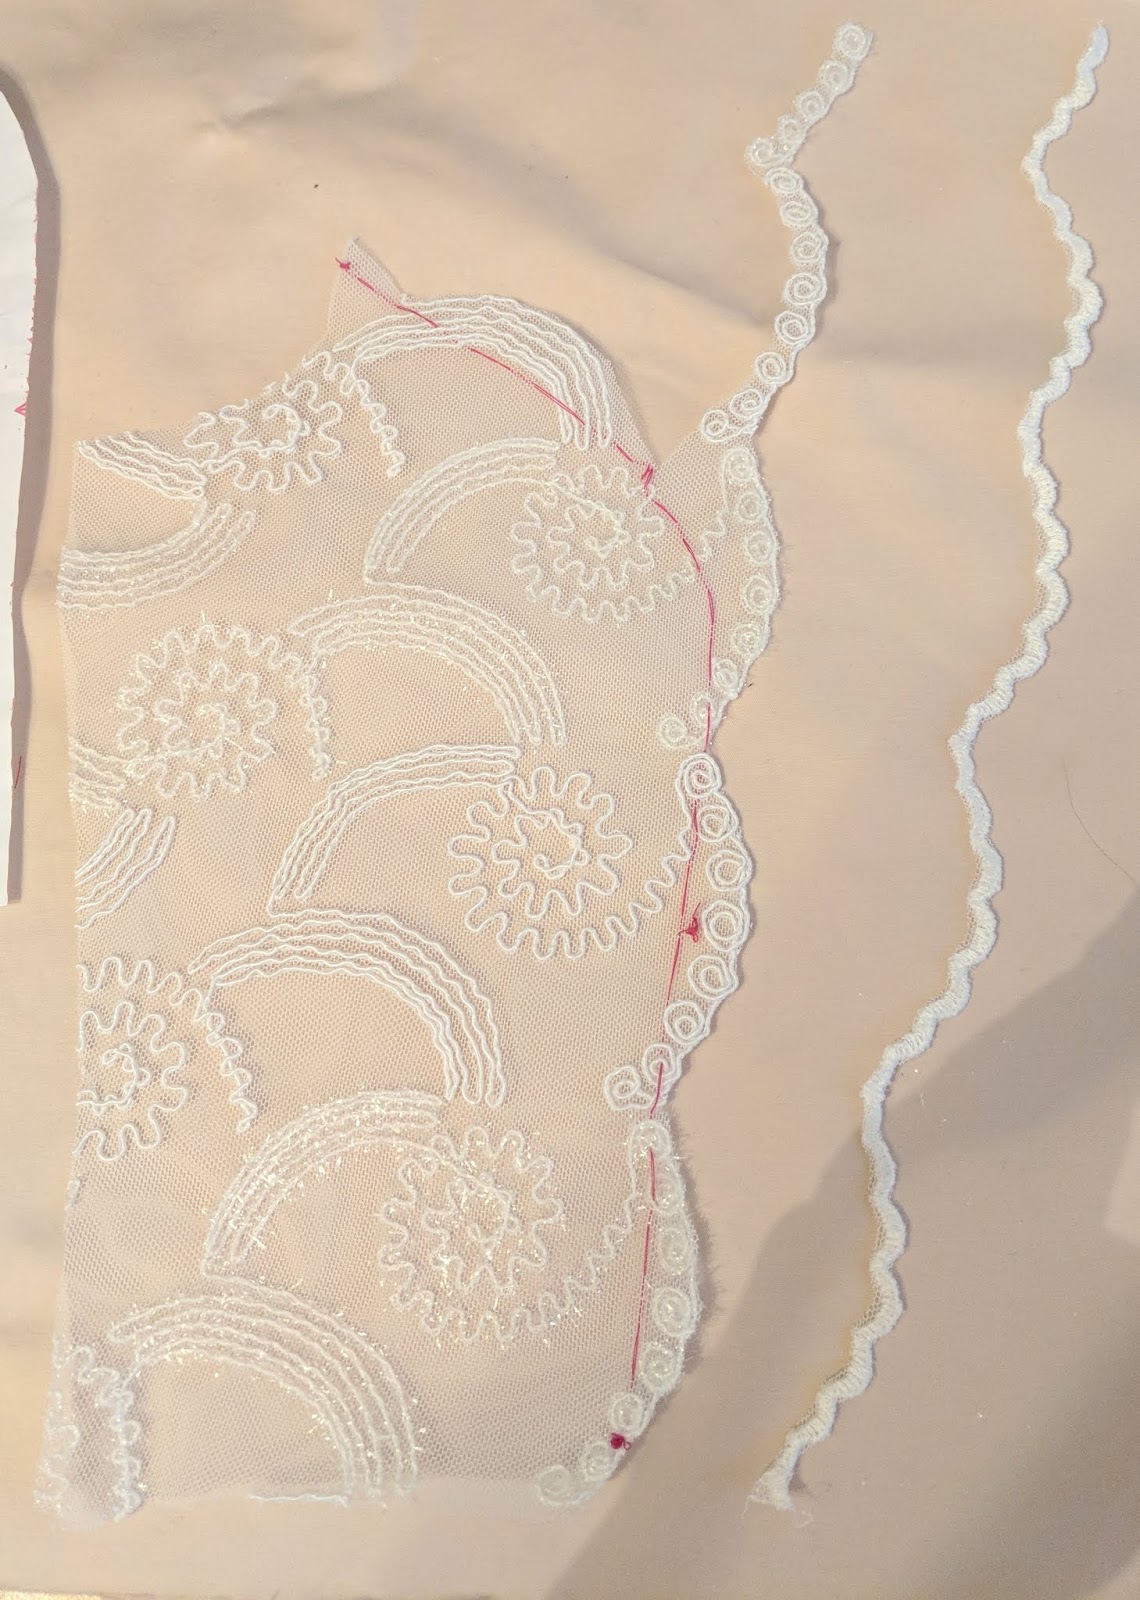
I traced a new set of pieces in paper for the bodice and removed the seam allowance for the princess seams and made the center front piece whole ( not on fold ) then I traced them on the lace with contrast thread and careful consideration for pattern placement this time. I also wanted to make use of the lace border in front for the side panels and I had to manual cut some fabric out and put it back together with invisible thread:
There were 3 layers in the bodice: lace, lining and close to the skin I did another layer in the most soft and think cotton batiste so the dress will have a real nice feeling on the body and also help me keep the inside perfectly clean:
I also use a layer of tulle facings on the indie so if you were to pick a few millimeters on the inside of the dress at the edge you would see nothing different then the outside:
We also use the seam ripper to remove some of the embroidered details on the lace in the seam allowance to avoid bulks. My sister in law also did most of this tedious work:
I think that with all this extra attention to details our next version was much improved. The whiter fabric underneath also improved the general look:
The first time I did the sleeve strap working with 2 layers of fabric at one. It looked OK but not perfect. This time I interfaced the lining and initially did the drap only in the lining fabric. It was so sweet and crisp. We love it and it clearly showed the beautiful drafting! But it didn't looked right with the rest of the dress so I did a separate case for it in lace with the lace seam being in the middle underneath and slipped over the lining strap. It looked a lot better then when the seam was to the size.
The vines were a real challenge with our fabrics. At first we tried to use 2 layers of fabric but turning them at once was to tricky. Then the tulle was easily deforming while sewing and we lost a lot of pressios time trying to find the right technique to do them:
In the end I thought of doing them just in tulle and use some sparkly thread inside of it instead of more classic cord. The effect was terrific. I loved our final vines:
We didn't quite liked the how the flower looked. We could have probably worked to improve it or use a different flower design but my sister in law preffered to drop this part completely so we left any additional testing for later and we never returned to it in the end. I was a bit sad to let this part go. Like I said I was really found of the last version of our vines and I never got to use them.
But then we decided to sew little pearls or beads on all the spires in the bodice and we tested various models and found a perfect match for our fabric. My sister in law did all the hard work of hand sewing the beads in the wedding dress. I only done the ones on Eva's dress.
For the next session we worked on the underskirts. I removed a portion of the skirt bottom and replaced it with 2 ruffles: one tulle one lining. This one is half as full as the lace skirt.
The next layer it is tulle skirt. This one is made by using 2 part of the Lekala front skirt piece and it is a full as the lace skirt:
The final layer it is from the lace fabric and it is done exactly after the Lekala pattern:
Everything was once again starting to look good. As you can see there were no beads yet in the bodice, we were still hoping to use some vines and you can also see the trip we wanted to use for the waist seam. It was a nice one but it was not a perfect match to the rest of the dress and I was pushing to find a different solution for it:
This are some alternatives I was thinking for the waistline:
We also started the work on the buttons. Small buttons in the back was in the cards from the start and it was a big must from the bride side and a scary scary part for me. I might have said before that invisible zipper is one of my biggest fears when I sew and now imagine invisible zipper with 3 layers of fabric, small loops and functional buttons in the same seam looking pristine... That was a big milestone for me. At first my sister in law looked at various buttons to buy but I veto most of them. Everything we found seemed poor quality and coordination. So I suggested making our own buttons. We were making so much already why not buttons. We had some perfect kits for them from Prym. They were a bit pricey but the look covered in 2 layers of our own fabric was way above anything else we could buy:

The bride also did all the buttons herself. She was really helpful working alongside with me most of the days. That was very valuable. It provided me with extra hands and quick feedback. I don't know if I could have done all this being alone in my sewing room and going crazy over the complexity of all of it. So we just broke the whole plan in small pieces and did it one small step at the time.
It was time for my biggest challenge : the back closing. So I started practicing on scraps:
On the 1st try I tried to do an actual invisible zipper and have the loops. It was messy. No sharp look! And easy to get stuck. I hated it:
I didn't think that I could make that work so I started to look for alternatives. I was thinking of using some topstitching of the fabrics a little away from the zipper's teeth but that didn't looked god easier. The zipper was easier to manipulate but it didn't looked professional at all... bah! ...
But I was in for a fight. The solution actually come to me easier than I thought. I will use a hybrid solution. I will topstitch only on the side where the buttons where the buttons will be sewed so the seam will be covered by the rows of buttons ad I measured so that the line of buttons will be the same as the top stitching line. On the other side I would use a clear turn. And all at that at a sensible distance from the zipper teeth so will be no problem of it getting stuck. The 2 sides were calculated to overlap for half a centimeter and the buttons were actually helping to keep the 2 sides together clean and nicely.
I still had to do a few more practice runs to get all the measurements and distances figured out but I was finally ready to sew the waist seam and close the back.
I also added a Petersham ribbon as a waist stay based on this
very helpful tutorial by Laura Mae. It seems I have no picture of that detail though. I've always admired her impeccable insides and I was happy to finally apply some of that. I really think that the ribbon helped keep some of the weight of the skirt and make the waist pull more on the hook and eye rather than the zipper and the buttons.
This is the final fitting we did at my place :
After that the dress moved to her place to finish the beads hand sewing and the buttons hand sewing.
To be honest I thought it was a home run from here. was just a tiny issue of the hem to be done and some simple hand sewing to close some seams on the inside. But it was far from done. For the hem we used the lace edge we cut separately before the rest of the dress. If is was just overlapping it to the skirt edge the seam was showing and it was not a pretty sight so I took the time of adding a support of horsehair under it and carefully cut out both side and apply both to the support by hand for all to look seamless and one piece. At this point we were at just 2-3 days to the wedding and it was a slow progress so nervous were running high and a little bit of panic. But I did it! I did made that hem look great! I also did a few hand sewed riddon channels over the shoulder to guide the bra strap and keep it hidden at all times!
I did a last minute train bustle using a metallic hook sewn at the end of the zipper for more support and only the tip of it piercing the lace out barely visible!
This is our final try out the late in the evening the day before the wedding ( after witch I went home to finish my son suit and start sewing my dress - crazy, crazy crazy) :
The buttons were not closed. I didn't had the time and patience for that at the time. The day before the wedding I cut her vail as well. I used an old one I had at home for guidance but had to change it a bit as out left over tulle was not big enough. She sewed the trim to it herself and I was out of time and used the lace I got for Eva's dress instead of our lace edge as it was neater. It turned out really well considering I cut it by eye and it was rush job:
But the dress was not all in in the last week I also had to work on the petticoat. The cheap ones you could buy and that everyone was using was not good enough! The support lines could be spotted through the think fabrics and the elastic waistband was far from stable. So I took it apart. I drafted a large waistband for support and lined it with silk for comfort. At the base I sewed a small row of gathered tulle over the support line and then a larger row of polka dots tulle for more volume and some cuteness on the inside:
The beads on the bodice were also finished quite last minute same as a handmade waistband from the same beads we used to applique:
She also made her necklace and earrings:
And now finally time to enjoy the big day. Let me just say that the dress and bride looked spectacular.
I was very happy for them and grateful for the opportunity to do all this. My sister in law loves handmade items and I really hope I could do this dress special to her! It was interesting to work so close with someone else on a project this big. And now that i finally written it down I can add the dress and the petticoat to my score so Sewing 89 - Shopping 62.
No shopping. So Sewing 89 - Shopping 62.