The bee is finally over.
Winning round 4 was a sweet treat but that didn't changed the way I felt about my entries. Round 3 jacket is still my favorite by far and since I am always doing and redoing patterns I wanted to try some totally different ideas for that. There was not enough time and energy left to do the wool coat contest but thought it would be fun to try and make a wool version of that coat.
I used a double sided wool fabric plain on one side and plaid on the other with really nice blue shades ( blue always seem to work better for me then other colors ) .
I reduced the fullness of the coat a bit this time.
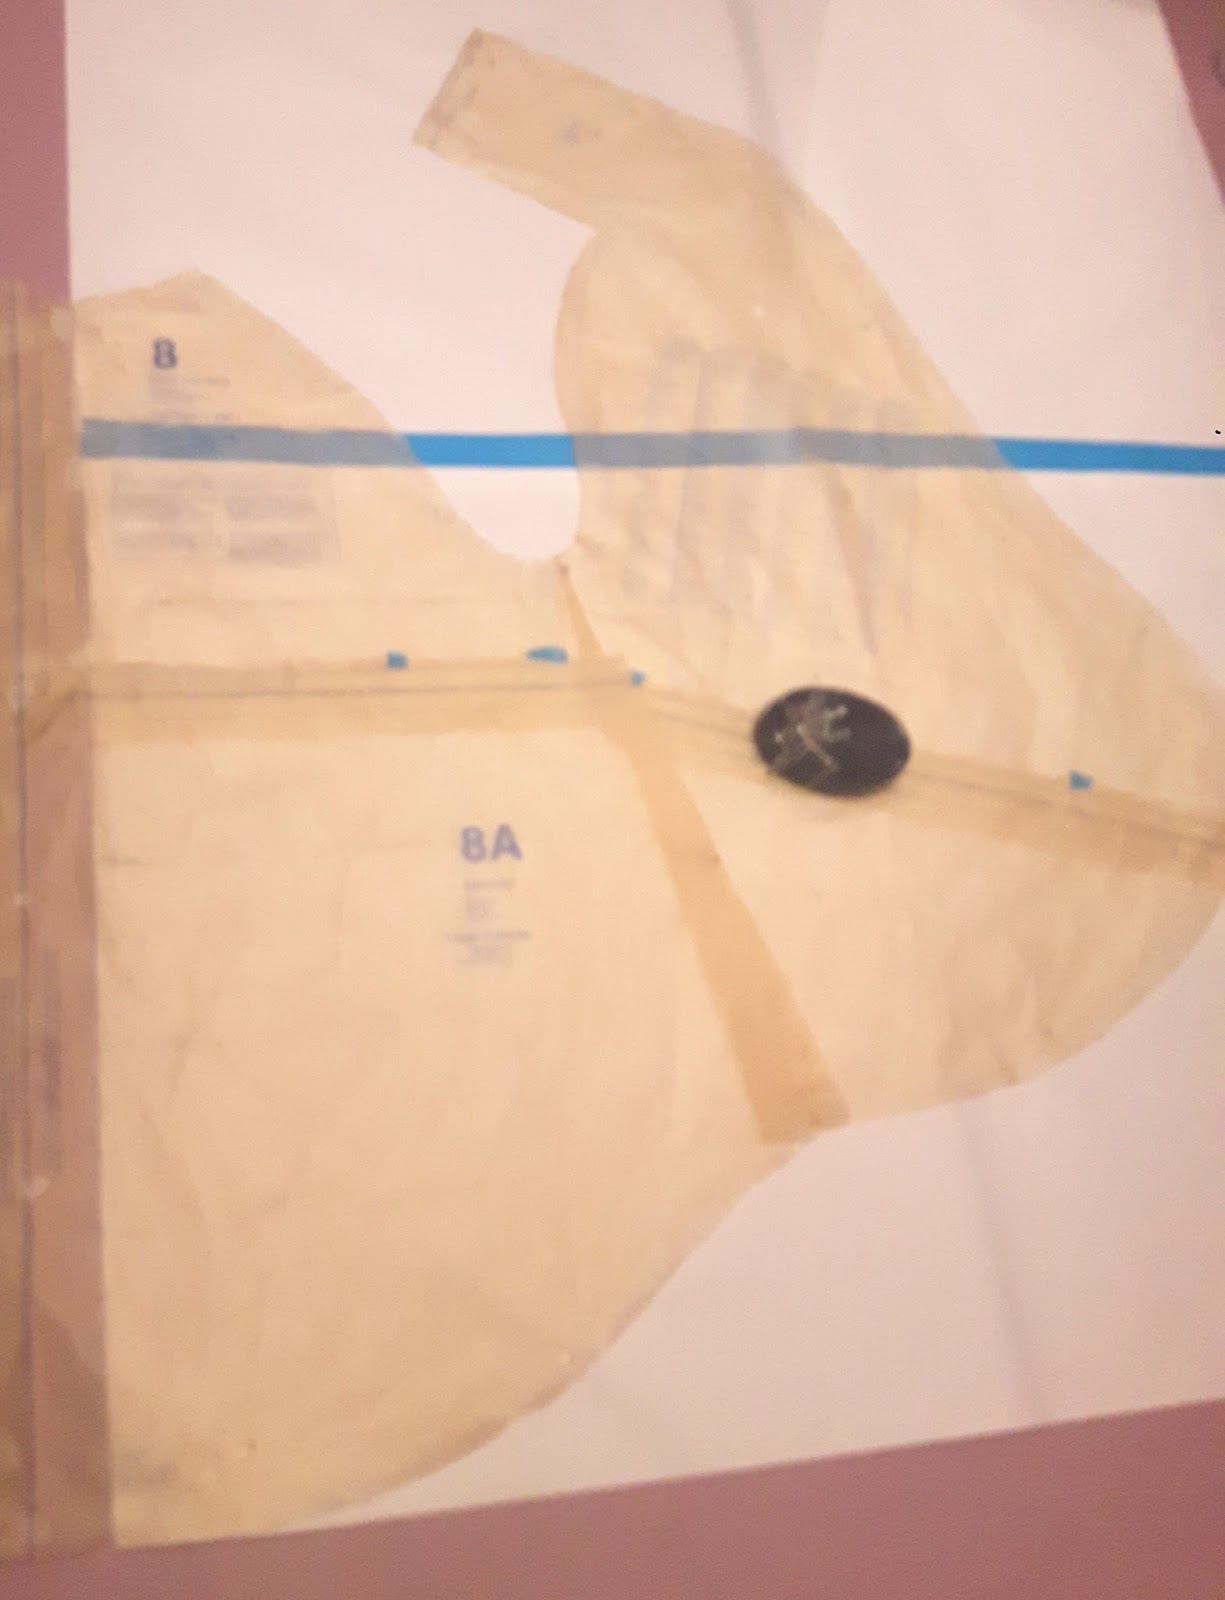
I am thinking this way the colors will be in perfect sync and the weight of all pieces will be exactly the same. I only cut the inside piece on fold and the created my own lines for cutting. I am going for full symmetry this time and that allowed me to be able to use the cut pieces on alternate sides.
After cutting them I put them back together on an interface piece and started to secure them together with hand stitches.
I used interface on the inside to help keep it all together better:
After this was done I did almost the same thing to the sleeves:
Then I got stuck for a long while making the coats for the kids. I think that what stopped me was the fact that no bias stripe was looking good enough for me. I was almost ready to give up and use some simple navy cotton that looked like the best choice so far when I decided to turn my stash boxes upside side one more time. I was looking for teal and navy or some other shade of blue to go with my coat but the treasure that I found long forgotten at the bottom of one box was this silvery, slippery. think fabric. And the match was perfect with my fabric. That is why I love having a big, big stash and not feel to guilty about it.
After finding this fabric my energy levels went back up but there were many many hours making progress with it...
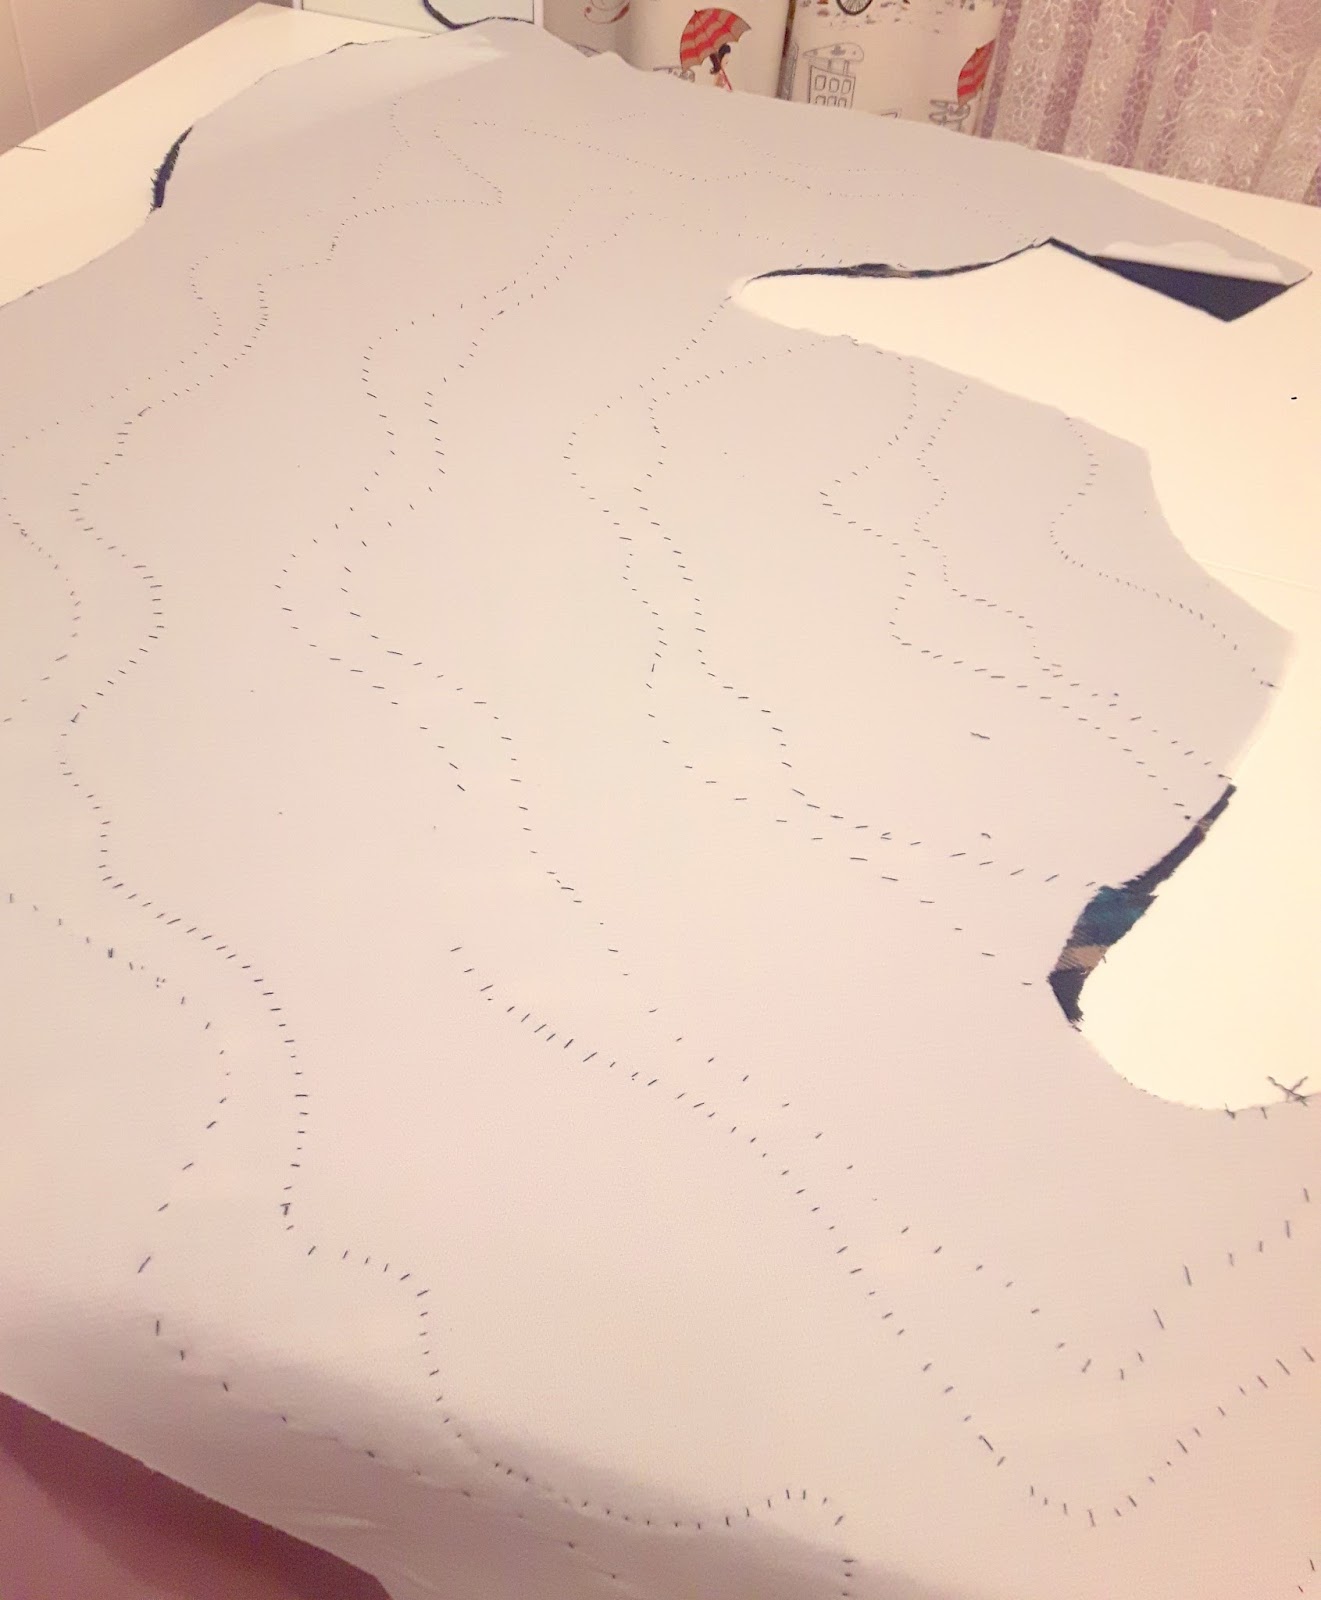
After doing this I put the inner layer together with the outer layer and after that started basting the 2 layers together so they will be prepped for the quilting and also will help me but the upper part of the inner layer after basting to make sure the 2 of them overlap perfectly.
After this I put the sleeves in and even if I initially decided to skip binding the armholes this time I did it and it was really tricky. I could have used some exctra fingers feeding the fabric to my machine and prepping it all in advance but I would not have done it I think I would have always felt like it was missing....
After top sticking all that with the inner layer sleeves still missing I attached the lining sleeves. Although I used plaid for the inside on the main body I decided to use the slippery silver fabric for sleeves. Seemed better suited for wearing and comfort..
And now finally ready to start quilting it and adding pockets...
I wanted to add some contrast top-stitching on the solid panels but the gray thread I has sank into the fabric and nothing was visible. And just on a moment notice I decided to use some jeans top-stitching threads - I had dark orange and yellow and I didn't stop to think it over twice... And as is that was not enough damage I though the yellow lines look a little weird and added some painted dots over it ... just like that without thinking it over even for a minute .... At this point it was my last change to get some natural light photos and went for it:
Looking a bit over my pictures I decided the yellow panel ruined it all so i decided to fix it by ruining it more. I just painted all the solid panels....
Did I ruined it. Did I saved it... To soon for me to tell... I might still work on it some more...
Paint close up:
Update with a few outside shoots:
With the kids coats debt down to 173.


Wow! Great job!
ReplyDeleteThanks!
DeleteOh I think you have added to it. I think the yellow on it's own didn't look right for me but with the rest done it looks like a very quirky coat which fits with all the other special details.
ReplyDeleteThank you!
DeleteI think you saved it for sure! I love the texture that the paint adds and all of your careful cutting really made for a showstopper of a coat. Somehow you managed to top your own creativity from your original jacket! This looks really warm too!
ReplyDeleteThank you! I think I am starting to like the painting too. Now I just wish I would have thought this through some more and maybe used some stencils for something more interesting... At least the first step in painting is done now.
DeleteOn the other hand I am so happy to finally be done with all the big coats projects! So happy to be able to clean up after all those countless hours projects! So happy that I could finally cut 5 very basic tops, some pieces all 5 layers at once... Now every time I enter my sewing room even for a little while I can get out with a new top/dress for Eva!
DeleteAmazing! What a beautiful jacket, quite an art of matching the fabric. I am proud of it. Thank you for the details, Georgia.
ReplyDeleteP.S. How did you process that picture on the top?
Thank you Eli!
Delete