
I have used the Carolyn PJs pattern from Closet Case Files.

I know they are not exactly a bias garment, it's not a ballroom dress, not even a silk nightgown and no clever graphical statement. But I didn't really wanted a dress right now. I wanted to sew something I really felt in love the 1st time I seen. I wanted to sew a pattern that is new to me ( even the company is new to me ), I wanted to sew something I would feel it represents me and I wanted to use fabrics that I love, all this while following the rules.
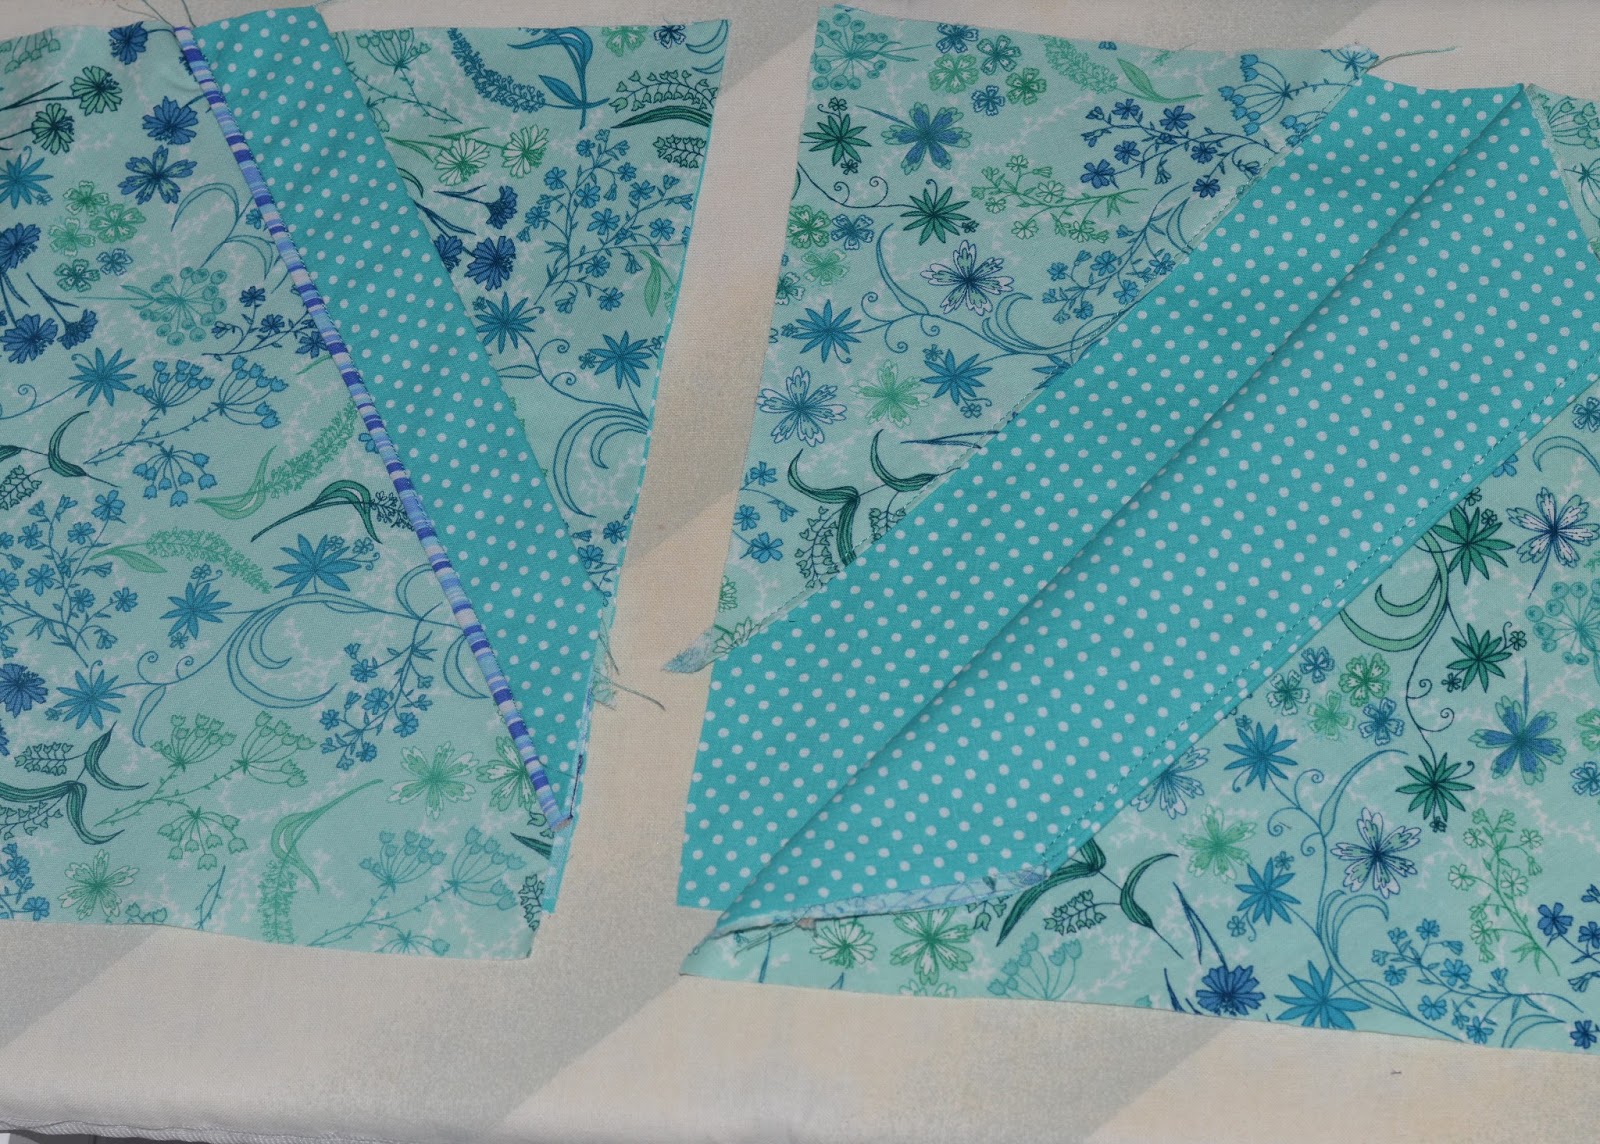
I have used 4 different fabrics. They are all quilting cottons from various online sources: the Robert Kaufman Floral print for bottoms and top collar and pocket, small plaid print on top, polka dots print for top, bottom and pockets cuffs. I used an uneven stripes print for making my own piping. This pattern east a lot of fabric and that had to be factored into the fabric choices and the decision to make the 1st pair the short version.

Classic notched collar with piping That is the most difficult element on this pattern but it is nicely explained and not that hard after all and it looks nice.


The top closes with T5 plastic snaps. I love the crisp look of those and they are also very easy to install and use. I started using them for children clothes and now I love them. I added them to the pockets as well. That part was a last minute caprice - not sure it was well inspired.


The bias was used mainly because of the rules. But I didn't want to do it just for that reason so while deciding what to sew I imposed myself a new rule: I have to find at least as many pros as cons for using bias. The cons were: 1. It may hang weird and 2. it will eat more fabric and the pros were : 1. the plaid is really cute on bias and 2. the ease on bias may make the PJs more comfortable then a non stretch fabric can offer.


I love that the shirt is shaped to show a waist and the curved hem. This don't feel like men pajamas.
I was thinking that maybe I should not worry much about how the PJs will be hanging since I don't do sleep walking so I will mostly wear them flat. But that would be a lie. This are so cute that I will probably use them for breakfast and early sewing in the morning. They are totally a game changer. I keep wandering If I could get away with wearing them outside... will anyone know they are my PJs if I don't wear them together?
I eliminated the side seam on shorts cuffs. I didn't seen the point in it except maybe saving fabric by being able to fit it in the scarps.
I added cuffs to the shorts pockets as well. I wanted to try that for a while and PJs are the perfect place to go all kinds on crazy!
I clipped the collar before turning. And I clipped the piping allowance on the corners. That really helped to have everything turn out nice.
While sewing the round corner of the collar I reduced the sewing step from 2.5 mm to 1.6 mm. That made it a lot easier to take the curve well.
When I attached the piping I first used a large step stitch to baste it in place where it should be and only after sewed the actual seam with the special foot for piping so I will have no needle to hold me back or mess around while sewing that.
I attached the facings and the collars at the same time. I pined and pined and pined .. to make sure everything meets and is layered well, then basted, then sewed. It is also the 1st time I finish a shirt neck without back facing. I was terrified by that. I was absolutely sure it will be all messy but I read and visualized the instructions a few times and did my own measurements as well as where to clip and turn ( I waited until all was basted to do the actual cut ) and it turned out perfect. I think that's one of the best things about small companies patters - you get great instructions to work with and you can up your game for when you are left alone in the dark.
I used a very light interface on the hem to make it more stable and crisp. I didn't wanted all the bias waves for it.
This is my trial version. Other then the fact that the front raise is rather low I have no issue with the pattern. It's perfect. After this I will just throw all my other sleepwear and make many many more of this. I can't wait to make more. I have so many fabric combos in my head ... This would also make an excellent Christmas gift if you feel generous with your time.

No comments:
Post a Comment