
Next day I spent many many hours printing , taping and catting the paper. I choose Lekala 4482. I was very courageous : 54 pages 25 pattern pieces and only half of page of instructions...

Here comes the construction of the shell:
Lekala : "1. Apply fusible interfacing.Fusible interfacing: upper collar, button stand, back neck facing, underlay piece, cuff, seam allowances on lower edge of garment."
Me : I left cuffs off to do at the end not sure how I wanted them done at that point. And I used waved fusible interfacing rather then the paper one I usually use. I also interfaced the full lower front and back rather then just the lower edges figuring it will look sharper like that. Not sure yet if it was a good idea. I also left the underlay off at this point I was not even sure what that even is.

Lekala : "2. Sew side backs to center back, press seam apart. Sew center back seam, press seam apart. Sew lower sleeve to side back armhole, clip seam allowances and press apart."
Me : This was OK. It was a bit weird to sew part of the sleeve of this point but it worked. Even if it was not hard on the muslin I managed to sew the center upside down ( the larger edge at the waist ) and then wander when the rest of the pieces didn't fit...


Lekala : "3. Sew upper side front to upper sleeve, clip into seam allowance on front in corner. Press seam apart."
Me : This part left me blank at 1st. I was like a small child with a puzzle that didn't made any sens to me trying it on all sides like a brainless thing. It took a little while before the click happened.


Lekala : "4. Sew shoulder seams on back yoke and center upper front, press seam apart."
Me : Finally something easy!!!.


Lekala : "5. Sew upper sleeve with side front to back yoke and to upper center front, press seam apart."
Me : Weird but by now the puzzle starts to make sense.


Lekala : "6. Sew upper sleeve to back yoke and lower sleeve to back continuously from notch to notch, press seam apart."
Me : This was fun to do. Everything lined up beautifully.


Lekala : "7. Sew lower sleeve edge to side edge continuously, press seam apart."
Me : Huh? I think they were saying to sew the side seam on the upper part and close the sleeve. I did this on the muslin and skipped this step on the actual coat. I decided I prefer to attach the lower parts as well before sewing the side seam. Actually I did the collar as well before sewing the sides.


Me : Lots of actual steps here... Since my fabric was rather thick I didn't want any unnecessary folding. I just put my pocket facing over the pocket pag and basted in place and used a zig-zag stitch to serve as serging. My fabric was not unraveling so it worked really well here.
Lekala : "9. Sew side seams on lower fronts and lower backs, press seam apart and serge. Sew upper part of coat to lower part, press towards top."
Me : Skipped this step as well just like like step 7. I sewed the lower front to the upper front instead.

Me : I still don't fully understand how their cuff were supposed to work. I did mine at a later point but i didn't liked them . They were to tight and in the thick wool I used it was just to much bulk there. I just cut them off and left the sleeve simple.
By the time I got here it was late in the night and I stopped taking step by step pictures. It would have probably been good to have done that for the collar and button stand attachment too but I did a few mistakes here and a little bit of seam ripping so it got messy and forgot everything else. On the muslin I totally forgot to attach the collar and the button stand together at all so that's probably why I had trouble here with construction. The last pictures before all getting messy were the facings joining and preparing the upper collar.


The lining on the other had went together really fast. The pieces are a lot easier to sew and understand. Apart for the princess seams on both front and the back there is nothing special there. The one thing that i did differently was to not cut the center back in the middle but on the fold with a bit of more ease and make some pleats with the extra. I had some bad experience in the past with lining pulling so I really wanted to make sure that will not happen here. I was already loving my coat at this point.
At some point after the pockets my son come into my sewing room and asked me if he can sew something. 2 months ago I put my sewing machine on his small table and sowed him a few moves. I was planning to include a small table into my sewing room that is still work in progress but I never got around to it. I was also looking for options to buy him his own sewing machine. But after a little research and reading decided that my 1st real sewing machine would be the best one for a child. It has a few safety features and is user friendly and it seemed better to start to start with a real one then some toy that will broke and hand at every stitch. We haven't had time to do another session since then and he never asked for the machine again, tho he often comes and sits on the floor in my room cutting my left over fabrics or playing his own games. His request took me by surprise but I could not miss such an opportunity. So I got in his table and gave him the machine. I was not prepared for this so we only did a small bag together. I really need to prepare a more fun project for the next time ( I do hope it will be a next time ).If you have suggestions feel free to share.


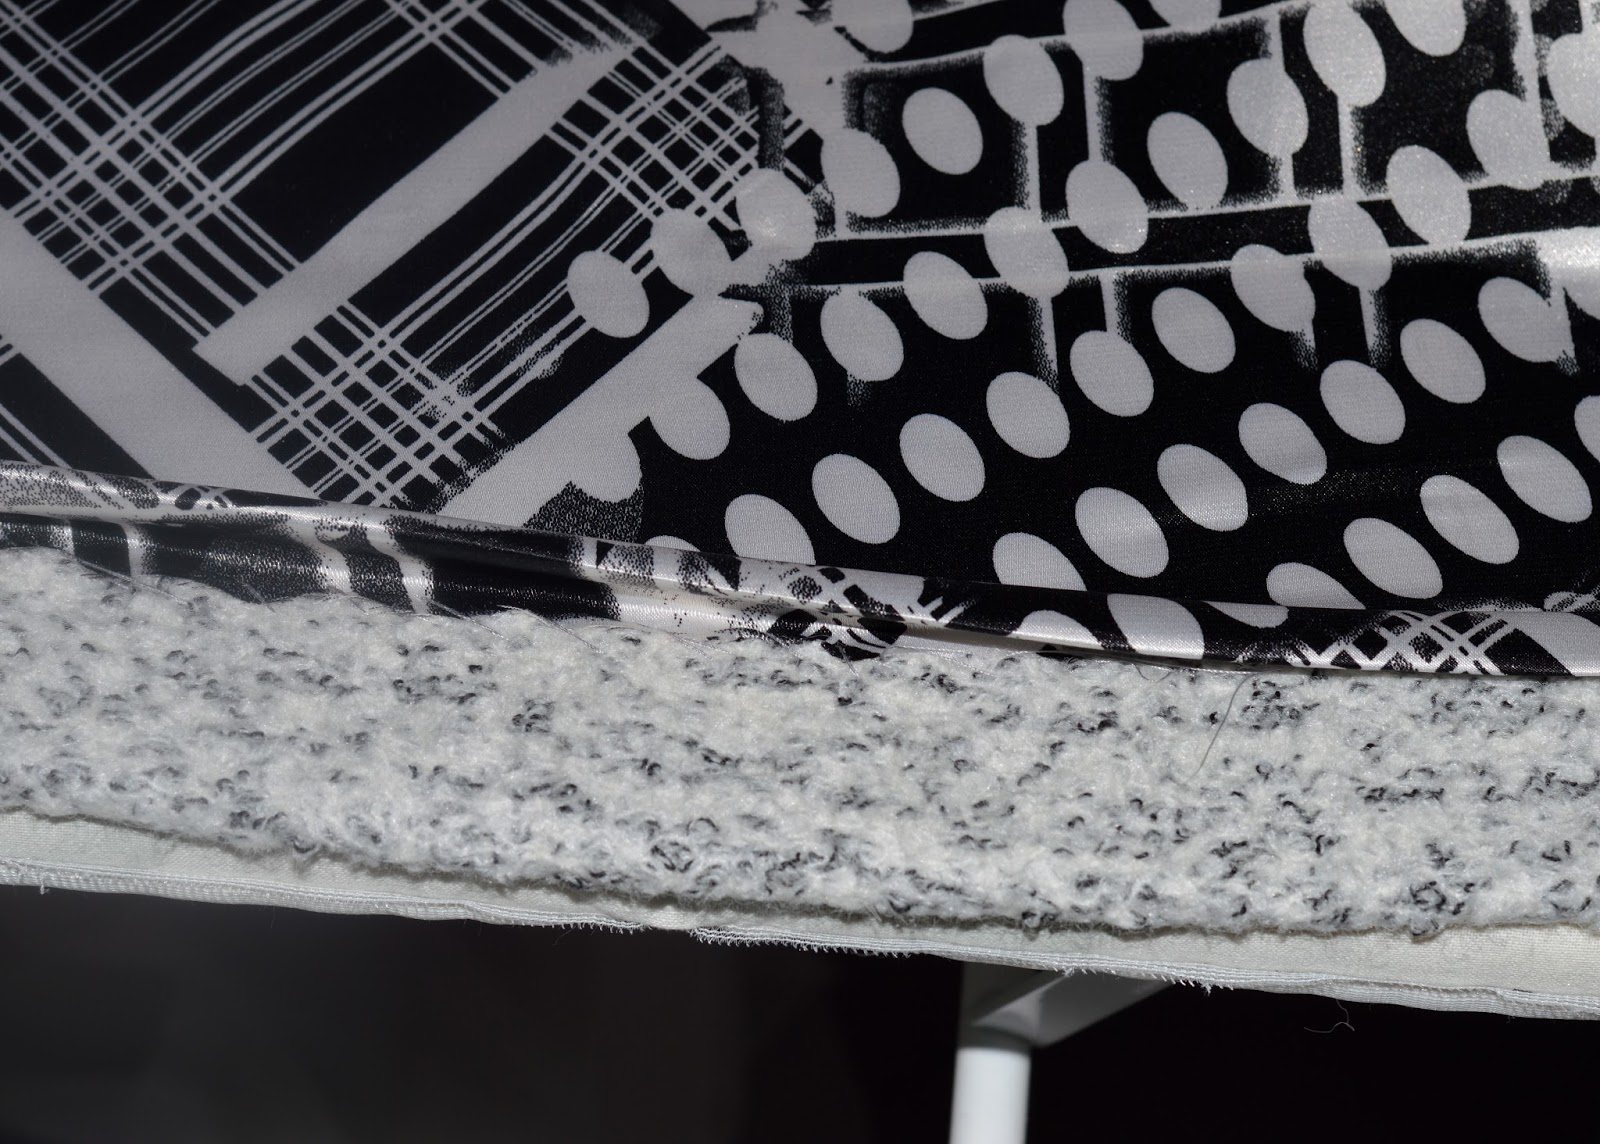


It was my 1st time sewing with this kind of wool fabric and I was impressed with its properties. While it is quite thick it seams to simple melt down and become nicely flat with ironing. I also loved the ease with witch the needles goes in and out of it.
I wanted some black and white printed satin for the lining. I needed a little fun element. I am not very pleased with this print but I don't stash satin fabrics and this was the only one I found in store on a short notice...


And finally the coat:


It's very nice coat! I guess it took a lot of time, but it was worth it. You did a great job!
ReplyDeleteThank you so much! It was a lot of work but now I am happy to be in my own coat!
DeleteGreat coat and a great job! I've been eyeing that pattern for a while. I'm curious whether you took any width out of the lower half? The drawing looks like it has a wider flare.
ReplyDeleteThanks! The funny part is that I haven't taken any width out of the lower part. The lower part is just a slight A Line skirt and the waist is over sized so I think thay meant this pattern in a not to thick fabric and then you put a cordon on the waist and a slight A line you get a flare. In my heavy wool fabric and heavily interfaced there is no drape no flare even if I used the exact same pattern pieces. Only altered to take less then an inch at the waist. I finished the muslin in a lighter fabric and is closer the the pattern drawing. I will probably post a review with that one next week and you can see the difference even if the pattern is the same.
Delete