Monday, June 30, 2014

Nautical red and white ( Burda 6/2014 #138 )

burda 6/2014 138
 Over the weekend I sew a set for my boy.

The T-shirt is BurdaStyle Magazine 6/2104 #138. I cut size 98 ( the biggest available ) and it fits really well. I skipped the neck button and just widened it by 1 cm or so. I cut the sleeves short. I also cut the lower hem straight . I found the pattern really easy and fast. Is was a good starting point for a raglan T-shirt. I will sure use it again soon. Is a great wardrobe builder.
burda 6/2014 138
The pants are drafted using another pair of his pants and the shoes are after I pattern I drafted starting from a RTW pair that he enjoyed very much. The shoes have red leather on the sole for a better adherence and cotton on the inside and the rest. He sure enjoys his new outfit, specially the shoes. He loves this type of shoes. I had a few pairs made in the winter and he wore them every day. Time for a new summer collection.


Thursday, June 26, 2014

Not so very easy Vogue 8775

vogue 8775

I had this very easy Vogue Pattern 8775 and I just had to try it. Is a really nice looking coat you can get with just 4 simple pattern pieces : 1 for front, 1 for back, 1 for sleeve and 1 for pocket. Loose-fitting, unlined, double-breasted jacket (fitted through bust) has front extending into standing collar and inside snaps. The back piece had hardly any curve ( around 1 cm or less ) so I just eliminated the back seam.

The main fabric detail:
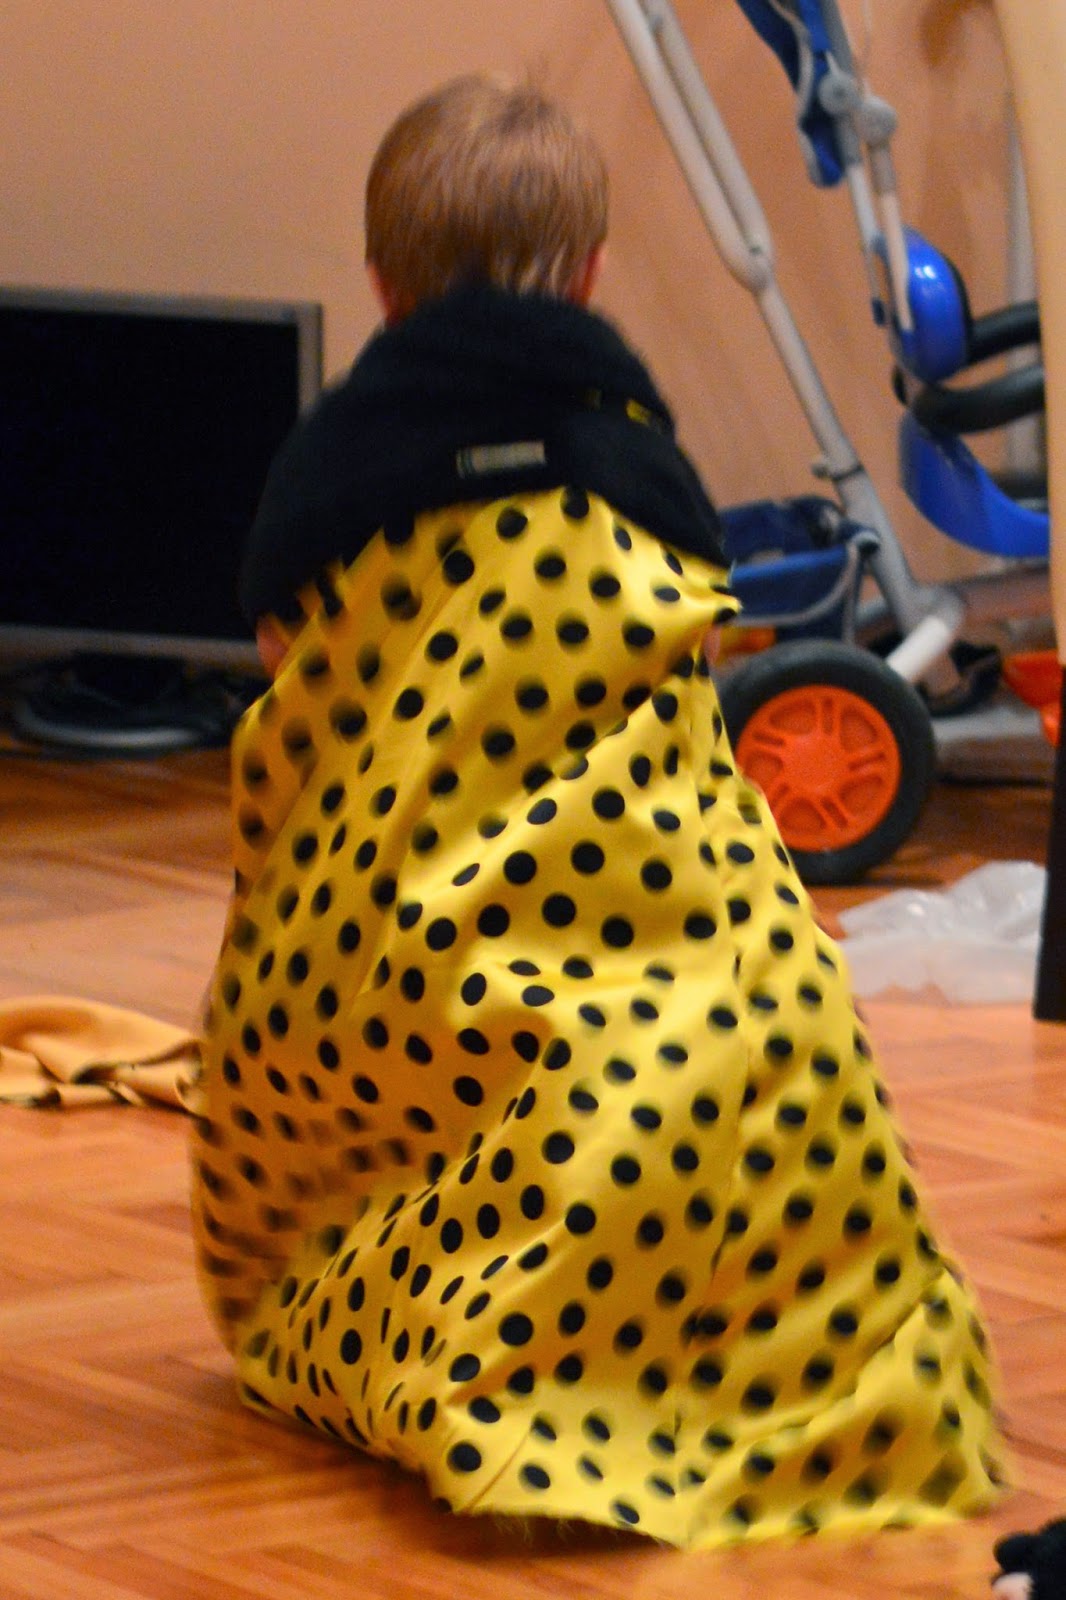
I did my own lining pieces using the main ones and just deciding where to add each fabric and adding seam allowances for the new cuts. It seems that the lining is a very good and funny cape for children:
About the lining - I used the same pattern pieces as the front just adding a few more cuts to it so I can do it in 3 different fabrics : collar in fleece ( I cut it on the fold this time so I will not have a seam in the middle of the back. I marked 2 1/2 inch for the rest of the edge and cut in main fabric. I cut all parts for the polka dots sateen except the collar. For the main fabric of the lining I just finished it with black bias tape and the sewing it on top of the sateen so I will not have a difficult curvy seam to do between the 2 parts. Here are the altered pattern pieces for the lining:
It would all have been so easy if I didn't over complicated everything doing the lining and the fleece collar and the fleece cuffs and the fleece trim... The fleece piping may have not been the best idea since it was quite thick and made the edge look a bit funny... but after all the trouble to get it in I was not up to take it out. I really have mixed feelings about it. Sometimes I love it, other times I just hate it...
I really like the color combo of this coat and I hope it is comfortable enough so I can wear it. Is just to hot right now to stay in it and test it. The fabric buttons are just for fun; the coat closes with inside hand sewn snaps. And of course I attached them on the wrong side but I don't really care so much about what part should overlap the other so I just let them like that.
The pattern is really easy and if you do it like you were supposed to ( no lining ) is a very fast jacket. I will try it again when I find some nice two sides wool fabric.

And here is the coat on me:


Monday, June 23, 2014

Summer rain capes ( BurdaStyle 03/2014#137 )


burda 03 2014 137
   I have seen this rain cape in the march issue of Burda Style Magazin 2014 and I just instantly liked it. It looked so comfortable and easy. I could just picture my son playing in something like this in a summer rain. With the pattern review outwear contest and the rainy start of summer here I just remembered the magazine. I had some waterproof fabric in my stash that I bought to experiment with ( never worked with this kind of fabric before ) so everything got moving...

   The pattern sizing is 104-128. This was a bit big my almost 2 years old son but he's growing so fast and I wanted to still fit him in the fall or next spring. I cut size 104. I moved to pockets a little higher so it will look more like his size and I skipped the lower part with the rope. I was long enough like this. I could have made it even smaller and shorter but I liked the idea of him having more room in it.
burda 03 2014 137
   I didn't do the fishnet lining but instead used some think soft cotton fabric. I thought it will be more pleasant on him like this. For the hood lining I used quilt cotton with some nice clouds print. 

I had some trouble with the pockets and to do a few tries with the scraps. Good thing that I did that because they didn't turn out right the 1st try but I was really pleased with them in the end. They look almost professional to me.
I tried to attach some  hammer-­on snap fasteners but it just didn't work well for me. I was considering using something else but because of the really stiff fabric that I used to underline the waterproof fabric at the pockets flaps and zipper cover up for more endurance this pieces stood how they were suppose to stay even without  any fastener so I just leave it out for now and I will try again some other time maybe with better luck and better prepared.
One other thing I like to point out is this really nice trick  to make sure the zipper don't hurt the kid. I seen it done in a RTW jacket and it seems brilliant :
Lovely rain cape in the end.
burda 03 2014 137
I was so pleased with my son cape that I wanted one myself. At first I was thinking of the matching pattern #128 from same issue but it required a lot of fabric 3m ( 3 3/8 yds ) so I just self draft something similar to fit whatever fabric I had left. I wanted to be comfortable and lose as well but maybe I should have done it a bit more fit and some pockets for myself would have been nice. But inn the end I just wanted to do something quick for myself since I will probably wear it just to mach with him a few times to the park when it looks like it may rain a little bit.

Here are some pictures from the park late in the evening when the wind started and we could enjoy our capes:


Monday, June 16, 2014

A special gift for a very special lady ( Simplicity 1808 Misses' Sportswear top + pants)

Simplicity 1808 Misses' Sportswear
Very soon will be the birthday of my mother in law and I really want to surprise her with something nice. She is very tall so is not easy for her to find the right garments. I knew that if I had to sew for her I should alter the patterns and I didn't know if I would find the strength to do that courage to do that. Also I could not measure her properly or do some fitting at some point because I wanted all to be a surprise. I was still trying to decide what do brainstorming for ideas that had some odds  to success like some easy skirt maybe but I knew she wanted pants more... but those are not easy to get right without proper fitting ... when I fond  Simplicity 1808 Misses' Sportswear pattern in my stash. I had it for a while but I never payed attention to it. I was hardy aware I even hat it since I didn't actually buy it ; it was a gift coming along with other purchases I made. The pants had enough ease and the elastic waistband made it look like it could be possible to get some decent fit in my situation and the top was not bad at all either.
I was on a very tight deadline so I worked like a maniac for a day and a half with breaks just to eat drink or read some review of the pattern once more and 4 hours of sleep.

I traced size 16 just to be sure it will fit. now I know that for pants  14 might have been better. I knew The top should have more length at both waist and sleeve/shoulder areas. The waist was kind of obvious line since it was marked but what should I do to have more room for the shoulders and sleeve? I decided to add some extra just below the collar line so I will only have to change the front and back patterns for the top not the collar pieces too. here is a picture with this changes: (+ 2cm under the neck line and +3cm at the waist line)

Simplicity 1808 Misses' Sportswear

Simplicity 7606

As you can also note I used a knit with stripes and I cut the pattern on the bias . Although I am a big fan of making my own rules I had enough failures to know that sometimes is better to take into account the pattern recommendations. They suggested a double stretch knit and mine was only one way stretch. I was afraid it will not be comfortable to wear it so I thought the bias will give it more ease and also I just love the cool V effect of stripes on bias. That's why I cut the front piece in 2 as well resulting in one extra seam in the middle. For the top collar I didn't want to go with the same fabric that was very thin and unraveling. I used the stretch cotton fabric I was intending for the pants and added some lace embroidery tape decoration. The result was not bad at all. I really like my top better then the pattern envelop:

Simplicity 1808 Misses' SportswearSimplicity 7606 Misses' Sportswear


Simplicity 7606k5

For the pants I added 13.5 cm in length and also slightly widened  them under the knee line with 2-3cm. The reviews I read on the elastic waistband were not very promising, my head was spinning for the instructions in only French and German ( my German in zero and my French was very good in high-school that there is quite some time since then without speaking or reading so ... )... I decided to draft my own waistband : straight in the back and sides , slight curved in front. I kept the 2 elastic band idea. They look pack then a single one. Also I used the same lace decoration from the top neck to the side pockets, hem and frontal part of the waistband skipping the bow that would have only added to volume to an already big waist.Here are some details at the waist and pockets:


The result was just so much better that I anticipated. I really did not dare to dream so far. The fit was almost perfect. I only had to take 1 cm from the side on the pockets level and we were all set.

I could have not been happier seeing her glow  and enjoying the new outfit.

Simplicity 1808 Misses' SportswearSimplicity 7606 Misses' Sportswear


 I really enjoyed the pattern and I feel tempted to try something for myself as well.  I highly
recommend you this pattern so far.